| Pegasus Mail Setup:

Find out more about Pegasus Mail click here
Download
Pegasus Mail
Setup Pegasus Mail
- Install Pegasus Mail on your computer
- click on the program icon
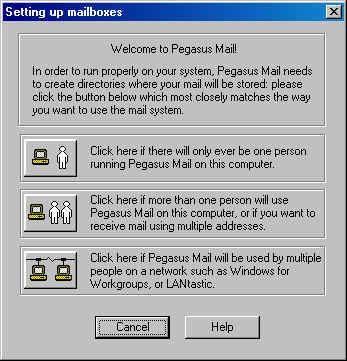
- Select the correct mail box creation option. If you will be the
only one accessing your mail on your computer please select the single mail box creation
button, if however you have multiple e-mail accounts please select the multiple mail box
creation button.
(Note: The following steps are going to to assume that you
have selected the single mail box option. For multiple mail boxes repeat the steps
that follow)
- Select the mail box option of your choice. The next screen will
show you where your mail will be stored. Usually this can be left to default where
the computer selects. Do not change this unless you have a compelling reason to.
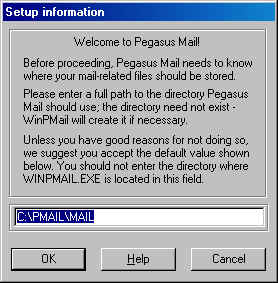
- Click "Next" to continue.
- Enter your full email address in the field box.
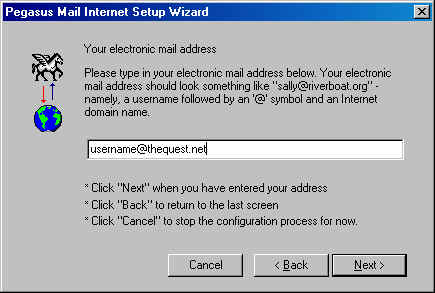
- Click "Next" to continue.
- Enter the POP3 Server name for the Quest. Please note the
format. mail.thequest.net This is important!
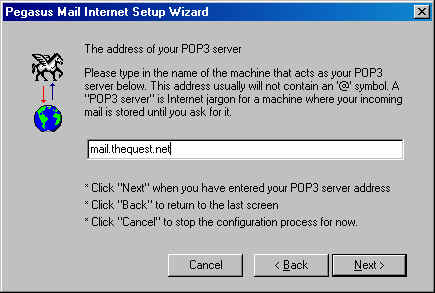
- Click "Next" to continue.
- Enter your User name and password in the correct fields
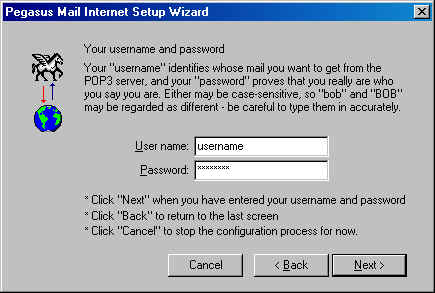
- Click "Next" to continue.
- The next field should be filled in for you. This field contains
the address for the SMTP Server. Please verify the syntax is correct. If not,
change it to match the screen shot.
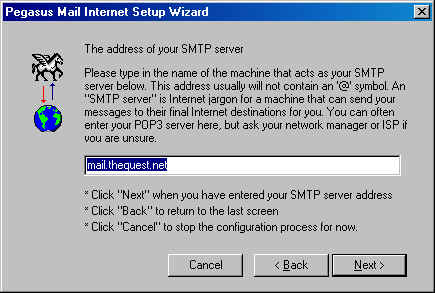
- Click "Next" to continue.
- The Next screen talks about how you will be connecting to the
internet. Leave the Dial up option selected if you access the internet using a
modem. Which is most often the case.
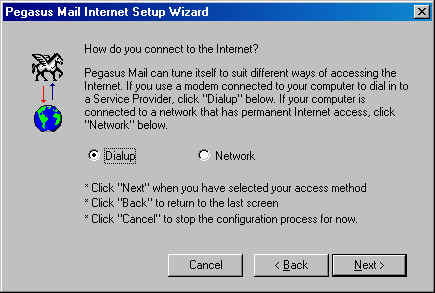
- Click "Next" to continue.
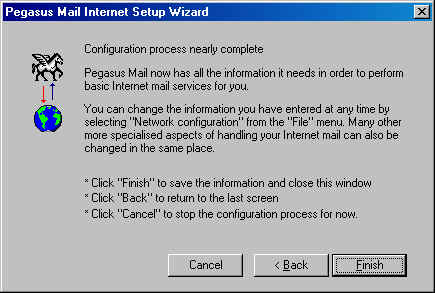
- Congratulations you are nearly done configuring. Click
"Finish" to continue.
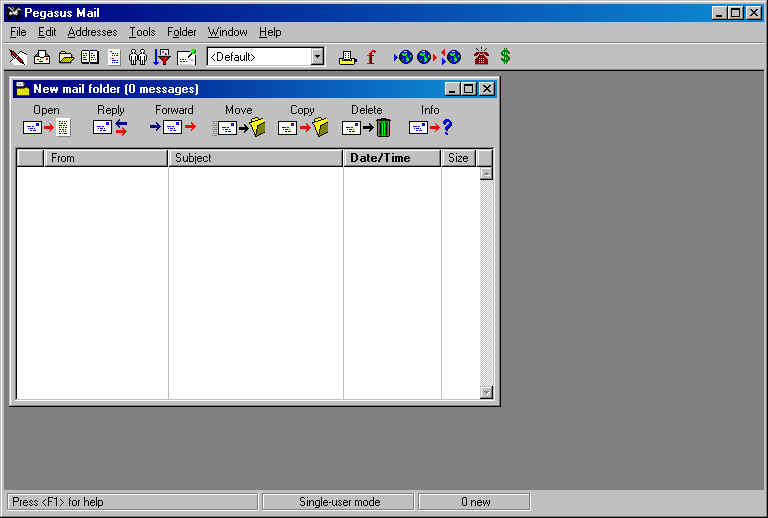
- You will now be able to use Pegasus Mail to send and retrieve your
mail.
|