| Outlook Express Setup:

Find Out more about Outlook Express click here
Download
Outlook Express
Setup Outlook Express:
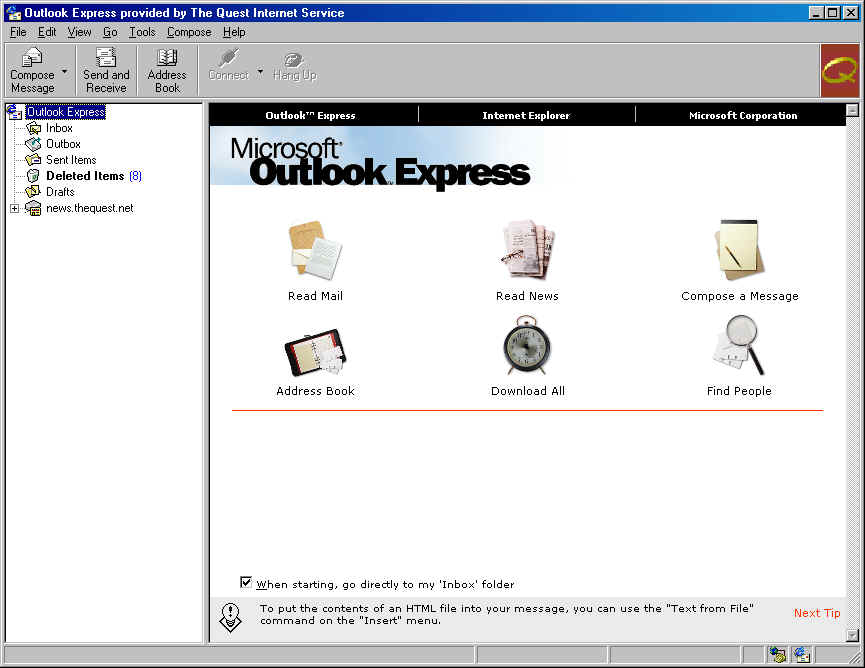
- Double Click on the Outlook express icon on your desktop.
Alternatively the icon can be found under Start/Programs/Internet Explorer/Outlook
Express. Your screen should look something like the following:

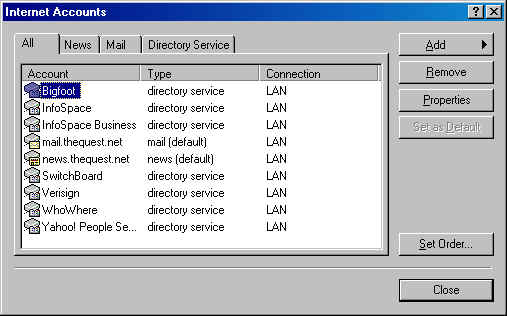
- Click on the "Tools" Menu bar and arrow down to the item
called "Accounts", and click once on "Accounts". The Following will
appear:
- Click on the "Mail" tab. The follwing will appear:
- There may or may not be anything displayed in the dialog box.
For our purposes wel will assume there are no entries in the dialog box.
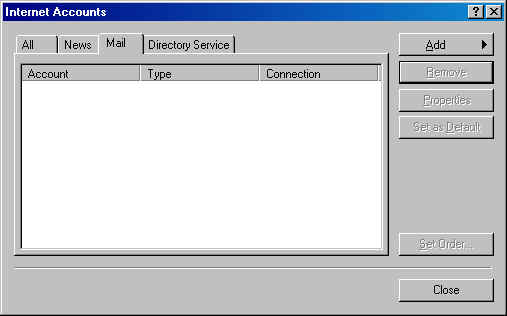
- Click on the Add button and then arrow to the "Mail"
option. Click on the mail option here and the following will appear: Your Fll
name should be entered in for you but if not feel free to change it.
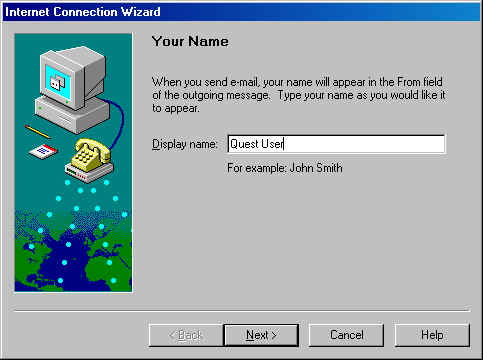
- Click the "Next" button when ready.
- Here nake sure that the syntax of your e-mail address is correct.
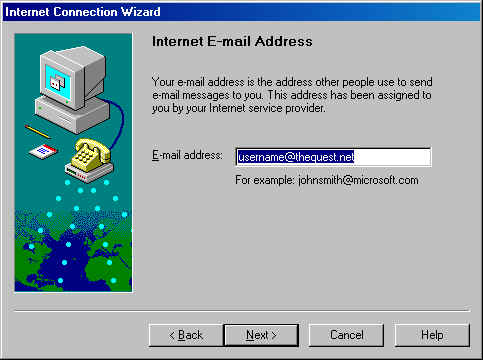
- Click the "Next" button when ready.
- The next box asks you for the incoming and outgoing server names.
Please make sure to follow the example. Incomming and outgoing mail
servers should read mail.thequest.net
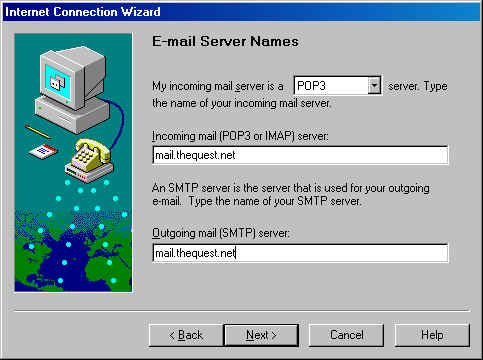
- Click the "Next" button, when ready to continue.
- You must now fill in your POP account name which is the same as your
username, and the password is what you chose when you signed up with The Quest.
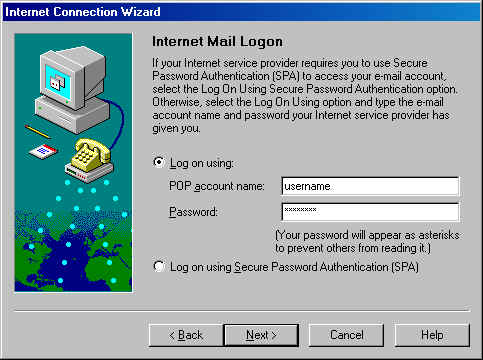
- Click "Next" when ready to continue. The following
screen will appear
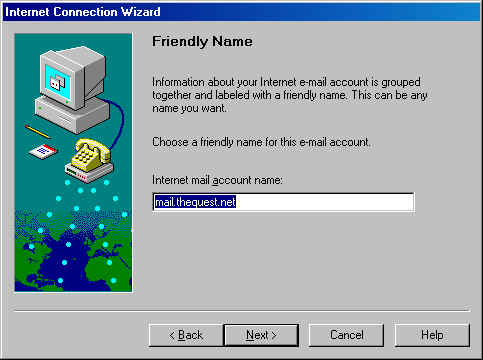
- Click the "Next" button to continue.
- Choose your connection type. Which for most will be
"Connect using my phone line."
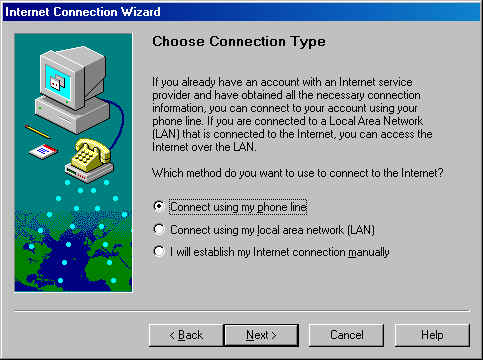
- Click the "Next" button to continue.
- Select the "Quest" as your dial up connection.
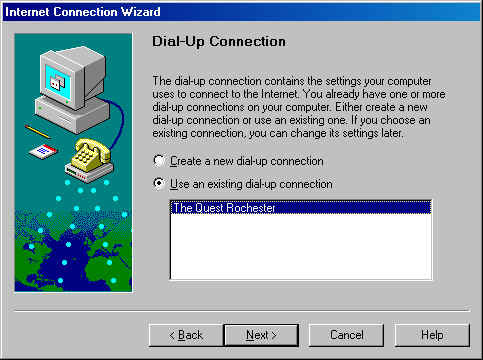
- Click the "Next " Icon when ready to continue.
- Click the "Finish icon.
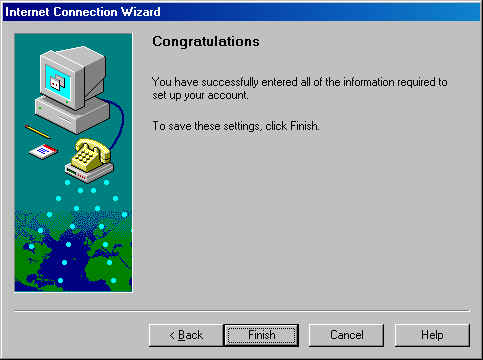
- The next screen to appear will look like the following:
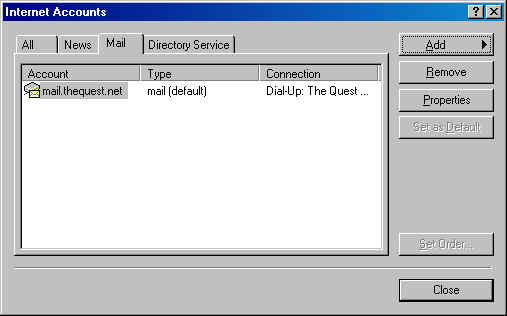
- Click the "Close" icon.
- You will be back in the main screen for Outlook Express. You
may read or send mail at this point. To read mail click in the "Send and receive
button.
- Congratulations you have successfully installed and configured
Outlook Express.
|