| Setting Up Internet Mail:

Find out information about Internet mail click here
Download
Internet Mail
Setup Internet Mail
- 1. Click on the Internet Mail Program icon.
- 2. If this is the first time you are using Internet Mail a
wizard will appear
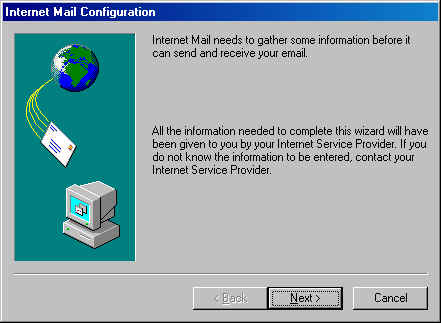
- 3. Click the Next button
- 4. Enter in your name in the "Name field", and enter
your email address. The email address consists of your user name
that you got when you signed up with The Quest, followed by the "@" symbol and
"thequest.net." So an email address
from the Quest might look like this: username@thequest.net
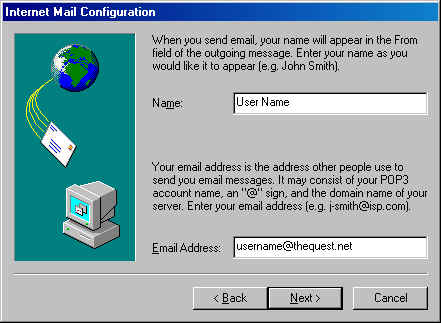
- 5. Click the Next button.
- 6. Fill in the entries for the POP3 Server and for the
SMTP Server. It is critical that the syntax be followed exactly here. The
address should read for both POP3 and SMTP mail.thequest.net
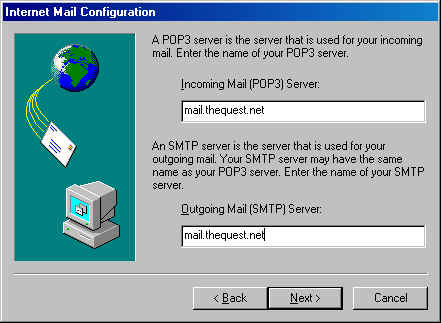
- 7. Click the Next button.
- 8. Enter your user name in the account name field, and your
password in the password field
- Note: Do not click the button for Logon
using secure password authentication
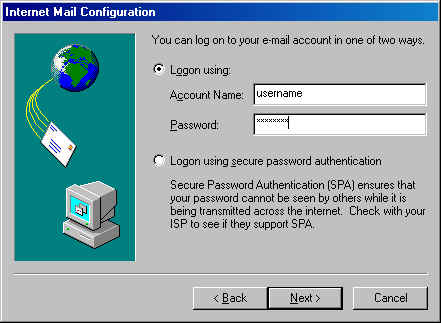
- 9. Click the Next button.
- 10. Select "I use a modem to access my e-mail".
Make sure that "The Quest is selected in the "Use the following Dial-Up
Networking connection" field. If it is not selected click on the down arrow to
the right of the field box and select the Quest as your Dial-Up connection.
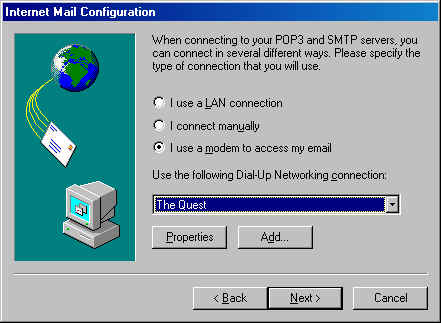
- 11. Click the Next button.
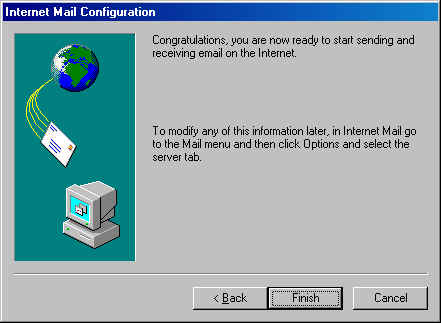
- 12. Click the Finish button
- 13. Now you may check your mail by clicking "Send and
Receive"

- 14. Congratulations you have successfully set up Internet Mail.
For advanced feature setup click here.
|